Surface Preparation for Smooth Painted Cabinets

Achieving a flawlessly smooth finish on painted cabinets requires meticulous surface preparation. This involves several crucial steps, from sanding to cleaning and filling imperfections, all aimed at creating a perfect base for your paint. Proper preparation significantly impacts the final look and durability of your painted cabinets.
Sanding Painted Cabinet Surfaces
Effective sanding is essential for removing imperfections and creating a smooth surface for painting. This process involves a progression through different grits of sandpaper, starting with coarser grits to remove larger imperfections and gradually moving to finer grits for a smoother finish. The goal is to create a uniformly smooth surface free from any texture that could show through the paint. Using the correct technique and grit progression minimizes the risk of sanding through the existing paint layer.
| Sanding Method | Pros | Cons | Best Suited For |
|---|---|---|---|
| Hand Sanding | Precise control, good for detail work, inexpensive | Labor-intensive, can be tiring, slower | Small areas, intricate details, curved surfaces |
| Power Sanding (Random Orbital Sander) | Faster, less tiring, removes material more efficiently | Can create swirl marks if not used carefully, requires more skill | Large flat surfaces |
| Power Sanding (Palm Sander) | Faster than hand sanding, good for flat surfaces | Less control than random orbital, can create scratches if not used properly | Large flat surfaces, less intricate details than random orbital |
| Power Sanding (Belt Sander) | Fastest method, aggressive material removal | High risk of sanding through paint, requires significant skill and caution, unsuitable for most cabinet work | Very large, flat surfaces (not recommended for cabinets) |
Cleaning Cabinet Surfaces After Sanding
Thorough cleaning after sanding is crucial to remove sanding dust and debris, which can compromise paint adhesion and lead to an uneven finish. Any remaining dust particles will act as imperfections in the final coat. The cleaning process should be gentle yet effective, ensuring all surfaces are free from residue.
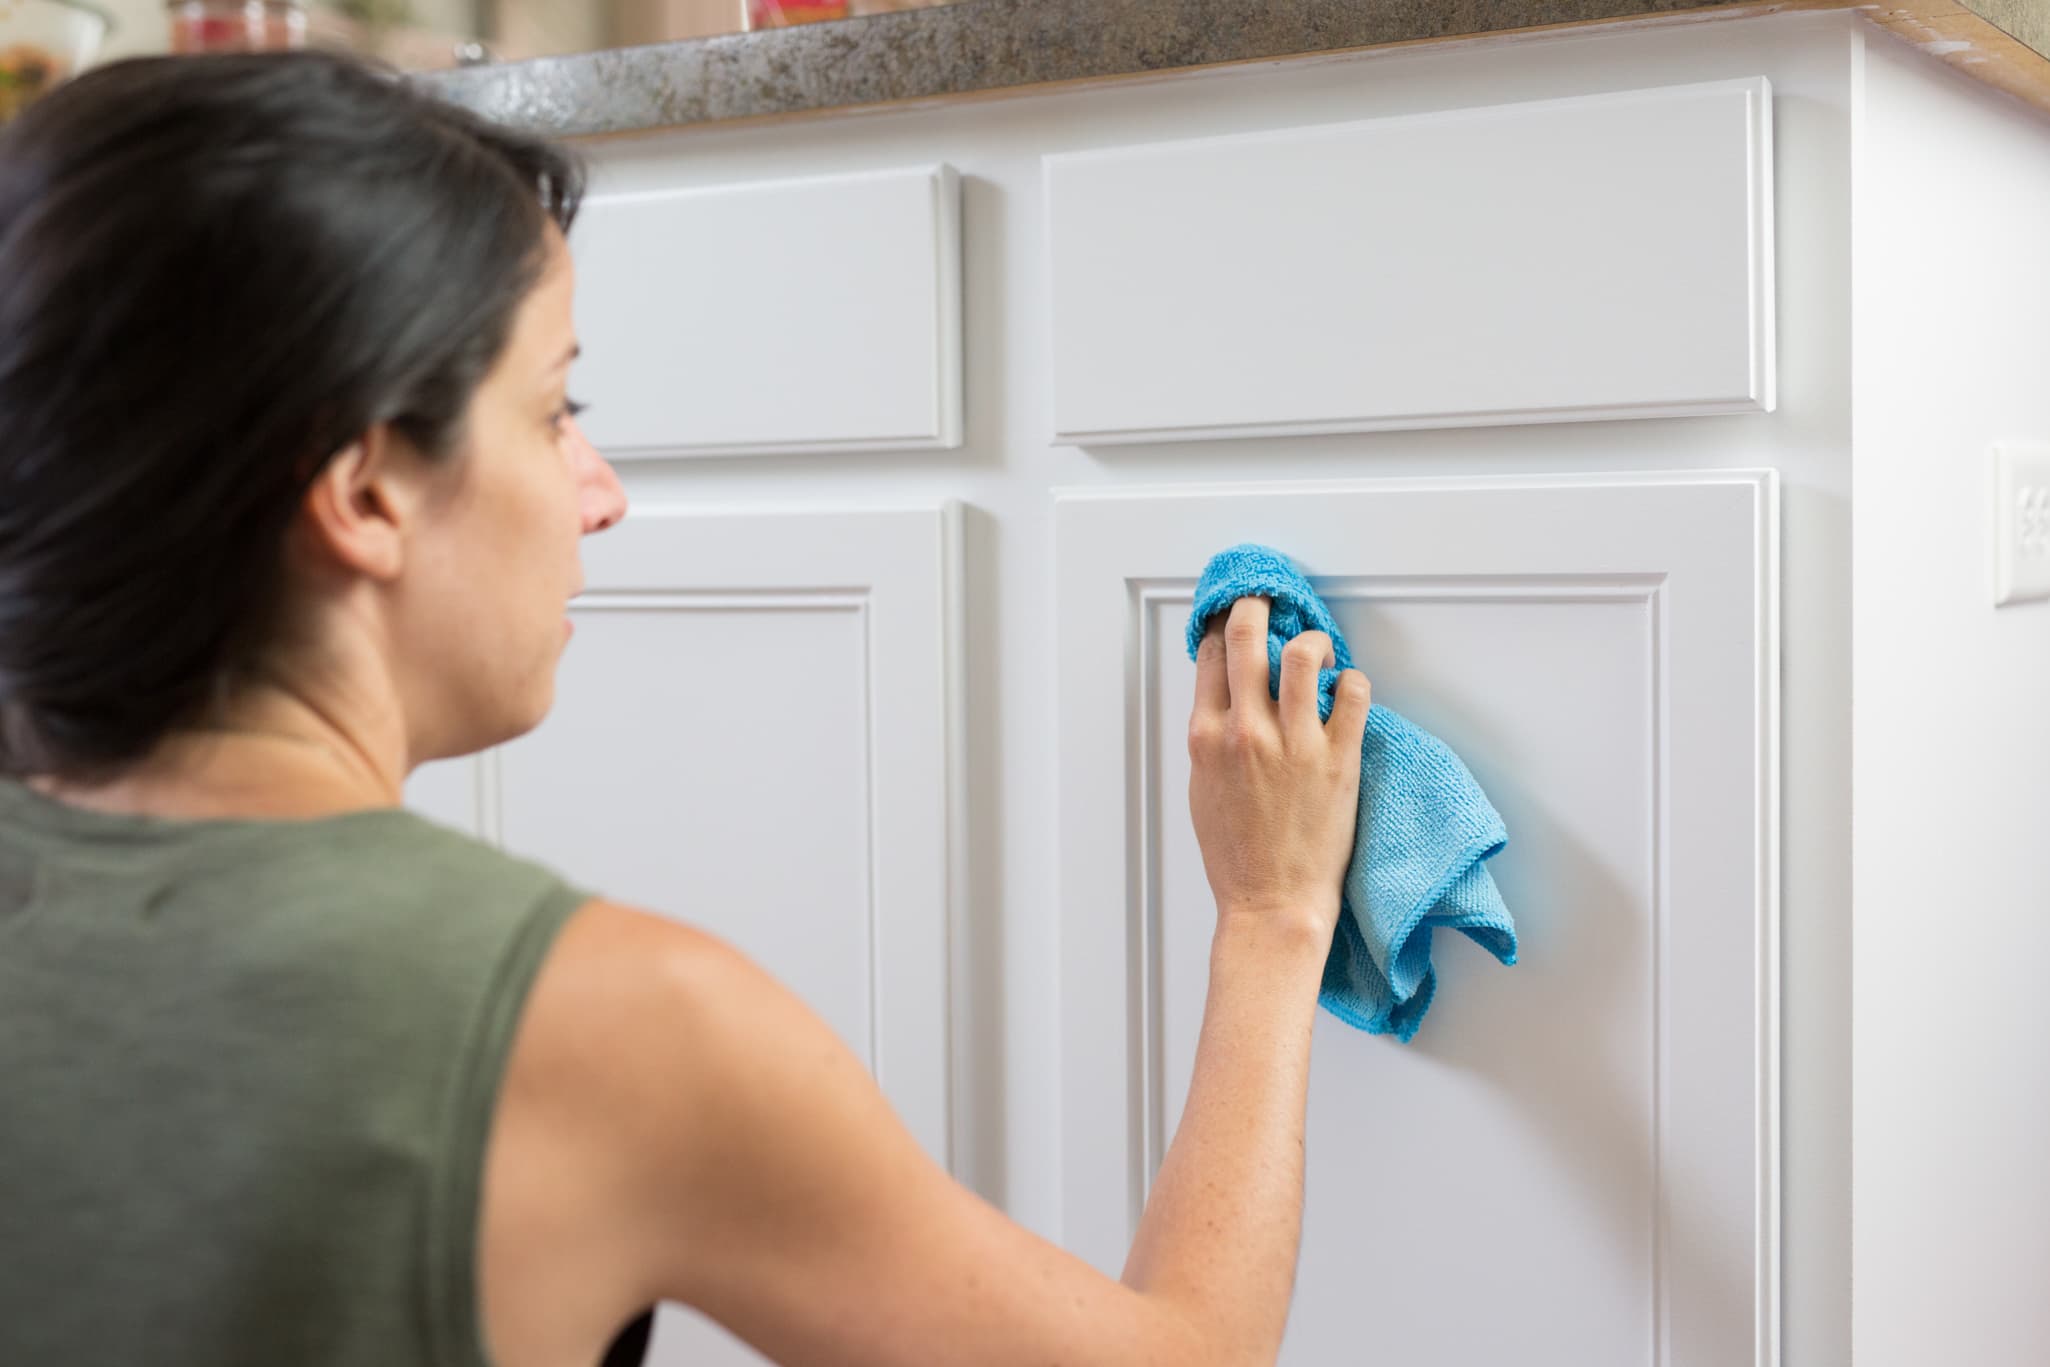
- Use a tack cloth or a slightly damp microfiber cloth to wipe down all surfaces, removing loose dust and debris.
- For stubborn dust, consider using a vacuum cleaner with a brush attachment for a more thorough cleaning.
- Avoid using harsh chemicals or excessive water, as these can damage the existing paint or the wood underneath.
- Allow the cabinets to dry completely before proceeding to the next step.
Filling Imperfections in Cabinets
Before painting, filling any imperfections such as dents, scratches, or holes is essential for a smooth, even finish. The choice of filler depends on the size and type of imperfection. Using the correct filler ensures a seamless blend with the existing surface, preventing visible blemishes in the final painted result.
- Wood filler: Ideal for filling small to medium-sized imperfections in wood. It’s easy to sand and provides a good base for paint.
- Glazing putty: Suitable for filling minor scratches and imperfections, offering a smooth, paintable surface.
- Epoxy filler: Excellent for filling larger holes or cracks, providing a strong and durable repair. It requires careful application and sanding.
Priming and Painting Techniques for Smoothness

Achieving a flawlessly smooth finish on your painted cabinets requires careful attention to both the priming and painting stages. The right primer creates a consistent surface, while proper painting techniques ensure even coverage and minimize brushstrokes. This section will guide you through these crucial steps.
How to make painted cabinets smooth – Choosing the correct primer is paramount for a smooth, durable paint job. Different primers offer varying benefits depending on the substrate and desired outcome. The primer acts as a bonding agent between the cabinet material and the topcoat, improving adhesion and preventing imperfections from showing through.
Primer Selection for Various Cabinet Materials
The type of primer you select should complement the material of your cabinets. Using the wrong primer can lead to poor adhesion, uneven finishes, and even paint failure. Consider these options:
- Oil-based primers: Offer excellent adhesion and stain blocking properties, making them ideal for porous woods like pine or highly stained surfaces. They tend to be more durable but require mineral spirits for cleanup.
- Water-based primers: Easier to clean up with soap and water, they are low-VOC (Volatile Organic Compound) options, suitable for most cabinet materials. They dry quickly but might require more coats for complete stain blocking on highly porous woods.
- Sheen levels: Primers are available in various sheens, from flat to high-gloss. A slightly higher sheen, such as satin, can provide a smoother base for the topcoat. However, a flat primer can be better for hiding imperfections in the underlying surface.
Paint Application Techniques for a Smooth Finish
The method of paint application significantly impacts the final smoothness of your cabinets. Each method – roller, brush, or spray gun – requires specific techniques to avoid streaks, brush marks, and uneven coverage.
Rollers: For large, flat surfaces, a high-quality short-nap roller is recommended. Load the roller with paint, ensuring it’s evenly coated but not dripping. Apply the paint in smooth, even strokes, maintaining consistent pressure and overlapping each stroke by approximately 50%. The roller should be held at a slight angle (around 45 degrees) to the surface. Avoid pressing too hard, which can leave roller marks.
Brushes: For detailed work, such as edges and corners, use a high-quality brush with fine bristles. Dip the brush into the paint, removing excess paint by tapping the brush against the inside of the can. Apply the paint using smooth, light strokes, maintaining a consistent angle and pressure. Overlap strokes slightly to ensure even coverage. A slight angle (approximately 30 degrees) helps to minimize brush marks.
Spray Guns: Spray guns provide a very even finish, ideal for achieving a professional look. However, they require practice and proper preparation to avoid runs and drips. Maintain a consistent distance from the surface (usually 6-12 inches), and use a smooth, even motion, overlapping each pass. The gun should be held perpendicular to the surface.
Applying Multiple Coats for Optimal Smoothness
Multiple coats of paint are essential for achieving a durable and smooth finish. Each coat builds upon the previous one, filling in any imperfections and creating a uniform surface. Allow sufficient drying time between coats, following the manufacturer’s recommendations. This prevents lifting or cracking of the paint.
- Apply the first coat of paint using your chosen method (roller, brush, or spray gun), following the techniques described above.
- Allow the paint to dry completely. Drying times vary depending on the paint type, temperature, and humidity. Generally, allow at least 4-6 hours for water-based paints and 24 hours for oil-based paints.
- Once the first coat is completely dry, lightly sand the surface with fine-grit sandpaper (220-320 grit) to smooth out any imperfections. Wipe away any sanding dust with a tack cloth.
- Apply the second coat of paint, following the same application techniques as the first coat. Ensure even coverage and overlap strokes appropriately.
- Allow the second coat to dry completely. Additional coats may be needed for optimal coverage and depth of color.
- To prevent dust from settling on wet paint, work in a clean, dust-free environment. Consider using a drop cloth or plastic sheeting to cover surrounding areas.
- For best results, work in well-ventilated areas, especially when using oil-based products. Always wear appropriate safety gear such as gloves, eye protection, and a respirator if needed.
Advanced Techniques and Troubleshooting: How To Make Painted Cabinets Smooth

Achieving a flawlessly smooth finish on painted cabinets requires attention to detail beyond basic painting techniques. This section explores advanced methods to elevate your results and addresses common issues, providing solutions to prevent rework and ensure a professional-looking outcome.
Wet Sanding Between Coats
Wet sanding between coats of paint is a crucial technique for achieving an exceptionally smooth surface. This process involves lightly sanding the paint with fine-grit sandpaper (320-400 grit) while the surface is slightly dampened with water. The water acts as a lubricant, preventing clogging of the sandpaper and reducing the risk of scratching the underlying paint. Always sand in the direction of the wood grain to avoid creating visible sanding marks. After sanding, thoroughly wipe the surface clean with a tack cloth to remove all dust particles before applying the next coat. This meticulous approach minimizes imperfections and creates a seamless, level surface for the final coat. Remember to use light pressure to avoid sanding through the paint. Improper wet sanding can lead to uneven surfaces and require more work to correct.
Brush Strokes
Brush strokes are a common problem that can detract from the overall appearance of painted cabinets. They often occur when using too much paint, applying paint too thickly, or using an unsuitable brush. To correct brush strokes without repainting, lightly sand the affected area with fine-grit sandpaper, ensuring you blend the stroke into the surrounding area. Follow this with a very thin, even coat of paint using a high-quality brush or sprayer, allowing it to self-level. This method subtly integrates the brush strokes into the finish, making them far less noticeable. Prevention is key, however; using a high-quality brush and applying thin, even coats will dramatically reduce brush stroke occurrence.
Drips and Runs, How to make painted cabinets smooth
Drips and runs are usually caused by applying too much paint at once or working in excessively hot or humid conditions. To correct drips and runs, allow the paint to dry completely. Then, carefully scrape away the excess paint with a sharp putty knife, working gently to avoid damaging the surrounding area. Once removed, lightly sand the area smooth, and apply a thin topcoat to blend the repair seamlessly. For large areas of drips and runs, sanding and repainting the entire section may be necessary. However, for small imperfections, this method allows for a localized repair.
Uneven Surfaces
Uneven surfaces can result from inadequate surface preparation or inconsistent paint application. To correct unevenness, begin by identifying the areas needing attention. If the problem is caused by an uneven base coat, lightly sand the entire surface to smooth out any imperfections. If the unevenness is localized, carefully sand the affected area to achieve a consistent level. Follow this with another thin, even coat of paint to ensure the surface is smooth and uniform. If the unevenness persists after sanding and repainting, it is best to address the underlying issues with the surface preparation, ensuring a level and consistent base before proceeding with the painting process.
